Are you struggling to keep students engaged during program time? Finding activities, a little dry, even for you? Have you ever thought about developing activities based on your interests? Shawna created a worksheet for you to explore just that.
In this month’s PD Bite, Shawna linked the worksheet so you can print it and use it yourself. She also provided an example below, where she used the sheet and developed an activity based on some of her own hobbies and interests. If you’re engaged and invested in the activity then the students will be too, and how better to do that than by creating activities around your interests?! After you develop a few, you can even get the kids involved and have them help create activities with their interests and hobbies in mind.
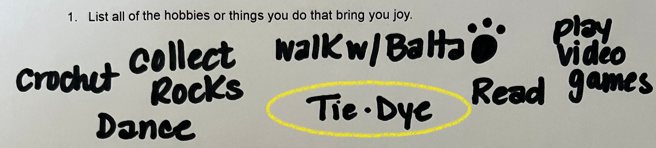
But let’s not get ahead of ourselves. First let’s take a look at some of Shawna’s hobbies! She started by completing the first question of the “Turning your Hobbies into Activities” Worksheet.
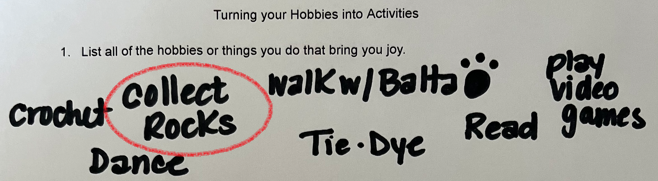
She chose to design an activity around her rock collection. She called it “Is it a Rock or is it a Mineral?” When she started to develop this activity, she knew that most people just see rocks; but a lot of rocks you pick up in a crystal shop are actually minerals with a singular chemical makeup. So, she continued completing the worksheet, moving onto the second question. She created a formal lesson plan for anyone who is a rockhound like her and would like to recreate this activity in your program. You can find it here.
2a. What Materials or resources do you need?
- Information regarding the difference between rocks and minerals
- Rocks/minerals
- Worksheet for students to complete
- Answer sheet (Teacher use only)
- Visual for the front of class
- **BONUS Small tumbled crystals for each student
2b. How will you have to prepare?
- Find information resources
- Create & print a worksheet for students to complete the activity
- Collect rocks and set up classroom for activity
2c. How many steps will the activity have? (5 or 6 Steps)
- Introduce the activity and it’s learning objectives.
- Show students the 5-minute informational video.
- At the end of the video discuss with students what they learned. Make sure they understand how to identify the difference between a rock and a mineral.
- Give students ten minutes to observe each rock/mineral and complete the worksheet. Using a timer can be helpful to keep students moving throughout the activity efficiently.
- At the end of the observation, have students return to their seats, and ask them how they’re feeling about their identifications.
- Reveal the answers and provide explanations for correct identification.
- Encourage students to discuss why they chose their answers and talk through their observations.
- BONUS: Allow students to select their very own tumbled crystal so they can start their own rock collection.
2d. What are the learning objectives of this hobby turned activity?
- Learn the difference between Rocks & Minerals
- Learn how to identify Rocks & Minerals
- Learn about some common rocks and minerals
Don’t forget to explore some of your own hobbies and create your own activities. If you use the sheet or find inspiration from this blog/activity let us know! Tag us on social media or send me an email to Shawna of what you came up with along with some pictures. She would love to share with others.
If you’re finding it difficult to conceptualize some of your own activities, maybe start smaller, and use the search function in the Mizzen app. You can explore activities that have already been created around your hobbies and interests and maybe even be inspired to create something that could build into a curriculum. I’m excited to see what you create!
Check back in a few months when it gets warmer for a Tie-Dye inspired activity!